How to Add Custom CSS to Your WordPress Site
There are situations when you want to change the display of some elements on your site: increase the font, change the background, or even hide some parts from users. All of this can be quickly done with the help of CSS.
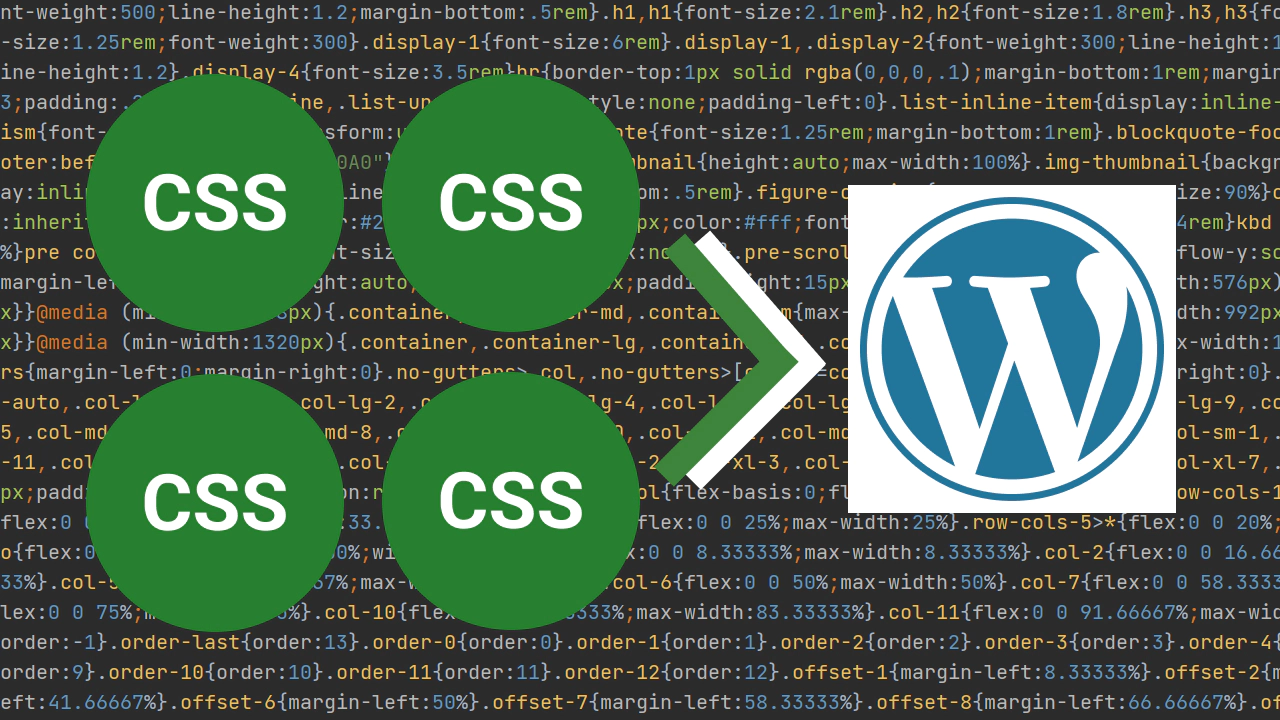
CSS (Cascading Style Sheets) is the code that styles web content.
MDN – CSS Basics
Additional CSS in Theme Customizer
One of the easiest ways to customize your website is to add CSS in Theme Customizer.

Go to the “Appearance” >> “Customise” and open the “Additional CSS” section.
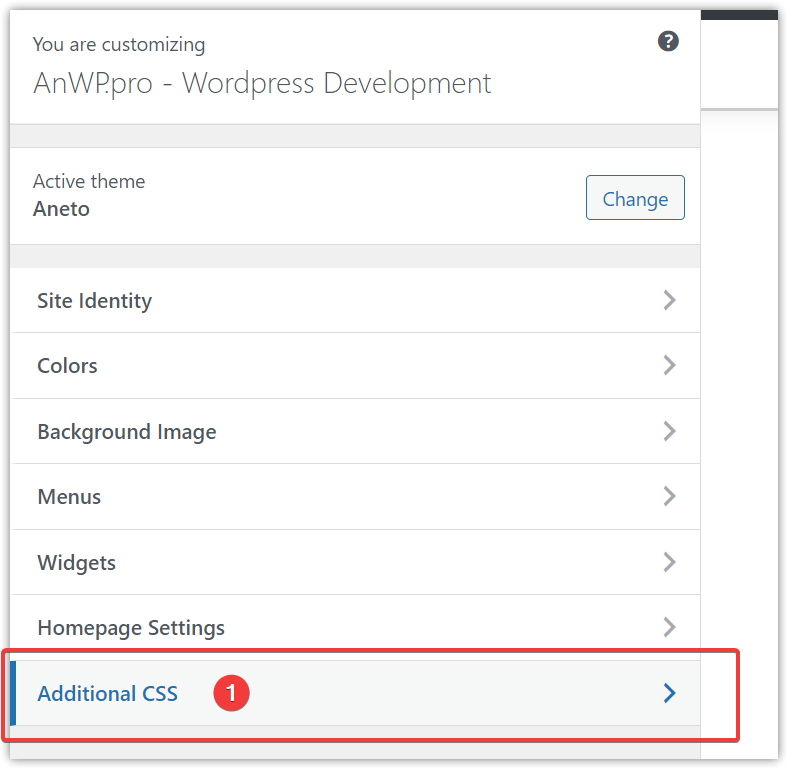
Put your CSS code into the editor area and click the “Publish” button.
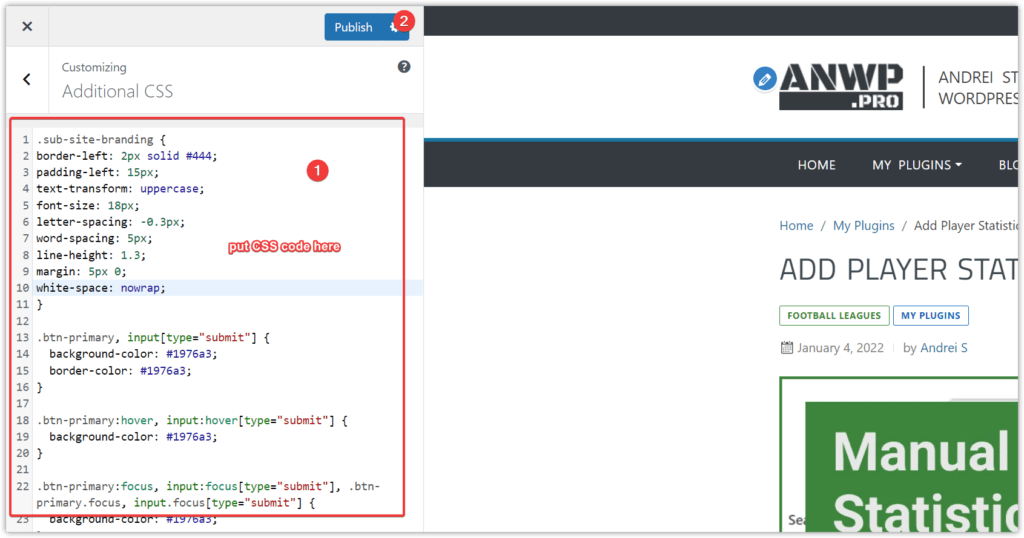
This code will belong only to your current theme. If you decided to switch to another one, you should copy and paste it to the “Additional CSS” in the new theme.
Advantages and disadvantages of this method:
CSS WordPress Plugins
The other option to add custom CSS to your site is to use a dedicated WordPress plugin. You can find many of them here:
– https://wordpress.org/plugins/tags/custom-css/
– https://wordpress.org/plugins/tags/css/
They provide an editor with code highlight and live preview in most cases. Some of them have rules to publish CSS only on specified pages. The most advanced have even dedicated inspector to find the proper selectors on your page.
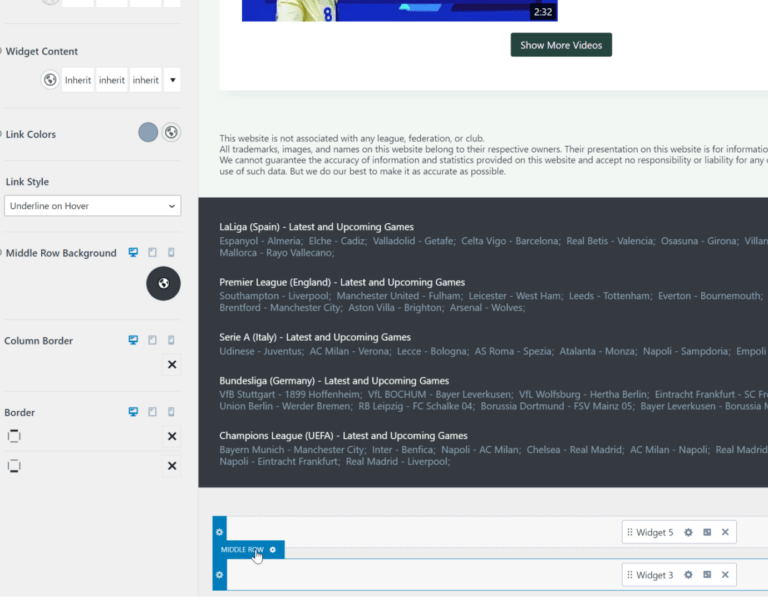
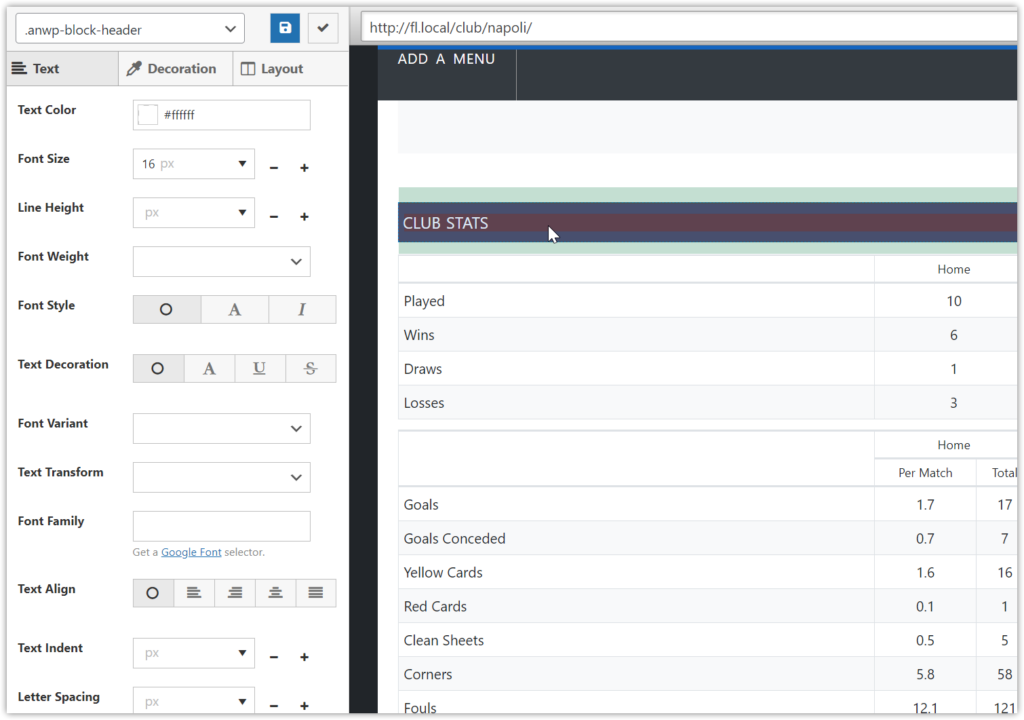
I recommend checking out SiteOrigin CSS. It has a fantastic Inspector and Visual Editor (see screenshot below).
Advantages and disadvantages of this method:
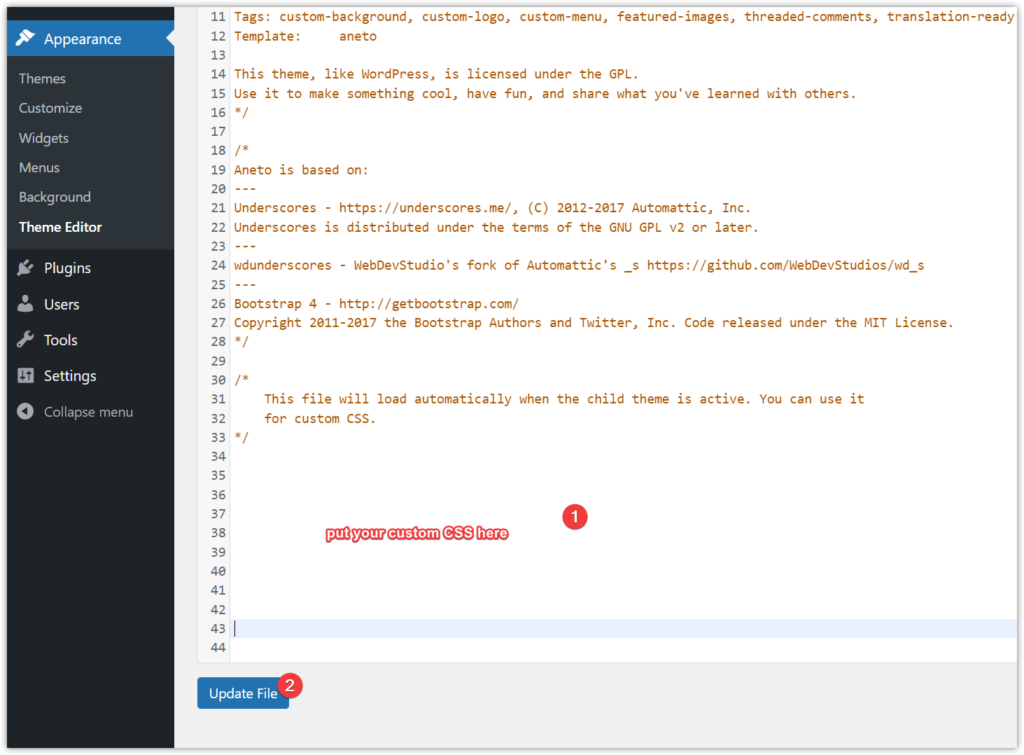
Style.css in Child Theme
Using a Child theme, you may add custom CSS to the style.css file. This solution is very similar to the Customizer option, but storing the CSS code in a file is more convenient.
To save your CSS go to the “Appearance” >> “Theme Editor”.
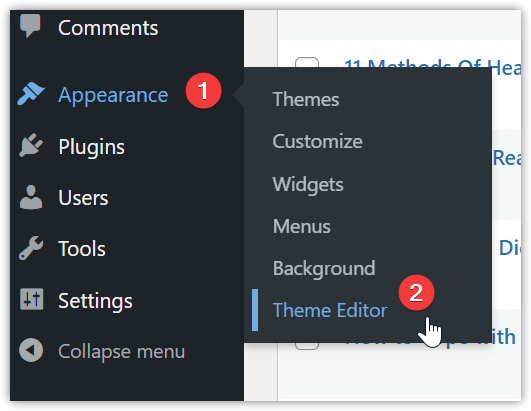
Put your custom CSS below the comments and click “Update File”.